The process starts from selection of site to post-drilling maintenance, understand what to expect before you drill a borewell.
Borewell drilling is one of the most important services for accessing underground water, especially in areas where water scarcity is a concern. Whether it’s for agriculture, residential use, or commercial needs, understanding the borewell drilling process helps customers make informed decisions and avoid unexpected costs or delays.
Here’s a step-by-step guide that explains the entire borewell drilling process in simple terms.
1.Initial Survey & Site Inspection
Before any drilling begins, professionals conduct a hydrogeological survey to identify the best location for drilling. This involves:
- Checking groundwater levels
- Analyzing soil and rock layers
- Ensuring legal and environmental compliance
2.Choosing the Right Borewell Type
Based on the water level and usage, the team recommends the type of borewell:
- Open Borewell – For shallow water levels (up to 50 ft)
- Tube Well – Medium-depth with steel/PVC casing
- Deep Borewell – For water levels deeper than 500–1000 ft
Learn about different borewell types here →
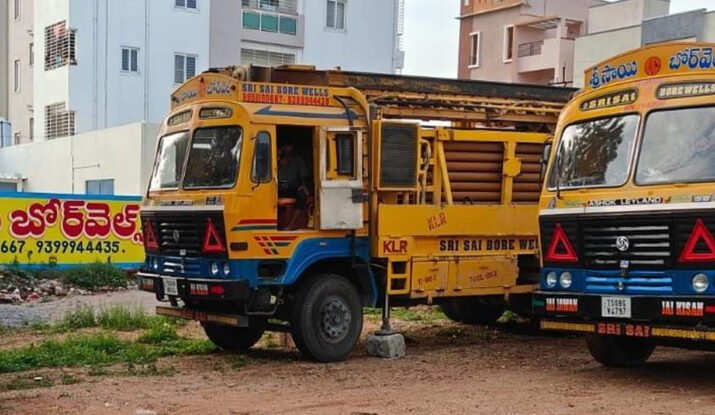
3.Arranging Equipment & Permissions
After finalizing the site and borewell type, the drilling team arranges:
- Drilling machines (rotary or DTH rigs)
- Casing pipes (PVC or MS)
- Water flushing and support vehicles
- Permission from local authorities if required
4.Actual Borewell Drilling
This is where the real work starts. The process includes:
- Drilling the bore to the desired depth
- Using water/air pressure to remove debris
- Inserting casing pipes to support the borehole
The depth can range from 100 to 2000+ feet depending on the site’s geology.
5.Casing & Pipe Installation
To protect the borewell walls and prevent collapse, casing pipes are installed. The type and size of casing depend on the soil condition and borewell depth.
- PVC casing for loose soil
- MS casing for hard rock areas
6.Compressor Flushing & Development
Once the drilling is done, compressor air flushing is done to:
- Remove silt, sand, and debris
- Improve water yield
- Test the borewell’s performance
This process can take several hours depending on the borewell depth.
7.Compressor Flushing & Development
After confirming the water source and flow rate, a suitable submersible pump or motor is installed. The pump type depends on:
- Water yield
- Borewell depth
- Power availability
8.Water Quality Testing
It’s essential to test the water for:
- pH levels
- Salinity
- Hardness
- Contamination (bacteria, nitrates)
This ensures the water is safe for drinking, farming, or industrial use.
9.Sealing & Final Finishing
To prevent contamination and physical damage:
- The borewell top is sealed with a concrete cap
- Proper plumbing and pipeline connections are made
- Borewell information is documented for future use
10.Post-Drilling Maintenance & Flushing
Over time, borewells can clog due to sediment build-up. Regular maintenance includes:
- Borewell flushing
- Motor servicing
- Water yield testing